 Blog
Blog
Creating your own image generation model using JavaScript
Similar to a lot of other developers I’ve been experimenting in the last year a lot with different generative AI solutions. But I’m not a machine learning engineer, and I’m not even a Python developer. I’m a web developer who loves writing JavaScript & TypeScript from front-end over back-end to coffee machines.
So even just using open-source models like Stability AI’s Stable Diffusion XL (SDXL) has been intimidating to me, let alone figuring out how to “fine-tune” such a model for my own needs. Just looking at the model’s Hugging Face page — you can think of Hugging Face like the GitHub of sharing machine learning models — brings up all sorts of questions. What’s CUDA? What does torch do? And most importantly:
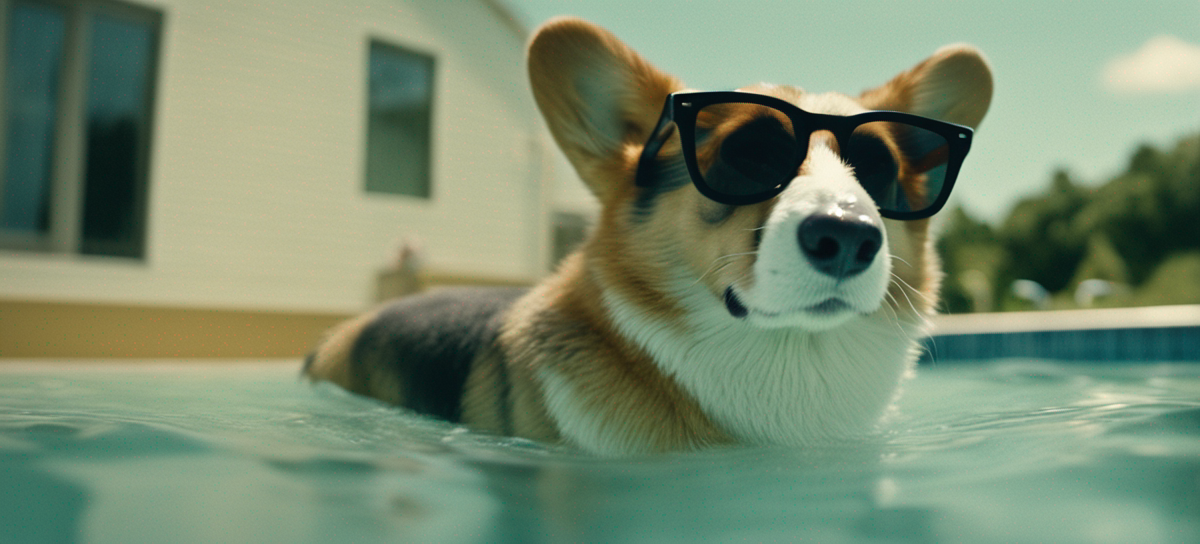
how do I make it generate images of my corgi?
In this blog post we’ll explore how you can create your own image generation model on top of SDXL without needing any specific hardware and just using JavaScript and APIs.
How to create your own image generation model
Creating an image generation model is extremely hard and requires a lot of data and the results can be mixed. For that reason various companies are working on their proprietary models like Adobe’s Firefly or OpenAI’s DALL·E 3. The problem with these models is that they are more of the “you get what you get” variety, meaning while you might be able to influence them with some example images they are largely static.
That’s where open-source models come into play as base models for our project.
Choosing a base model
There are a multitude of open-source text-to-image generation models. Stability AI’s Stable Diffusion XL (SDXL) is probably the most popular one among them though. It’s both versatile, produces high quality output and is licensed in a way that you can use it for commercial use cases, unlike some alternative models.
The other reason why we want to use SDXL is that it not only allows for fine-tuning but it allows fine-tuning through a technique called LoRA.
What is fine-tuning? What does LoRA mean?
The core part of a model are its weights. The weights are essentially the brain of the model and so if we want to teach a model something new we need to update those weights. This updating of the weights is done through a process called fine-tuning.
The problem is that the weights are a massive matrix though and updating all the relevant weights can be intensive work and therefore costly. That’s where LoRA comes into place. LoRA stands for Low-Rank Adaptation.
With LoRA rather than changing the whole matrix of weights, an “adapter” gets created that is essentially a smaller matrix that sits on top of the original model and manipulates the relevant weights. The output of this process is also significantly smaller since it sits on top of the original weights rather than representing the whole set of weights. This means you could have more easily a multitude of fine-tuned models on top of the same base model without wasting storage.
So now we know what LoRA is but how do we apply it? A quick Google you’ll find lots of Python based tutorials that are often heavy in machine learning terms and on top of that require you to have NVIDIA hardware that’s compatible with NVIDIA’s CUDA tooling. So what if you don’t have that or don’t have time to learn all the Python concepts?
Introducing Replicate
That’s where Replicate comes in. They’re goal is “making machine learning accessible to every software developer.” There are some other offerings that provide ways for you to fine-tune your model but for this blog post we’ll use Replicate.
If you don’t have a Replicate account yet, start by signing up for a Replicate account.
Once you signed up, create an API key and add it as an environment variable named REPLICATE_API_TOKEN.
If you have an existing Node.js project already you can install the Replicate Node.js library using:
npm install replicateAlternatively, we’ll create a new project using the create-replicate CLI tool:
npx create-replicate sdxl-fine-tune --model stability-ai/sdxlThis will both create a new project and also run an example image generation of SDXL and your output should look similar to this:
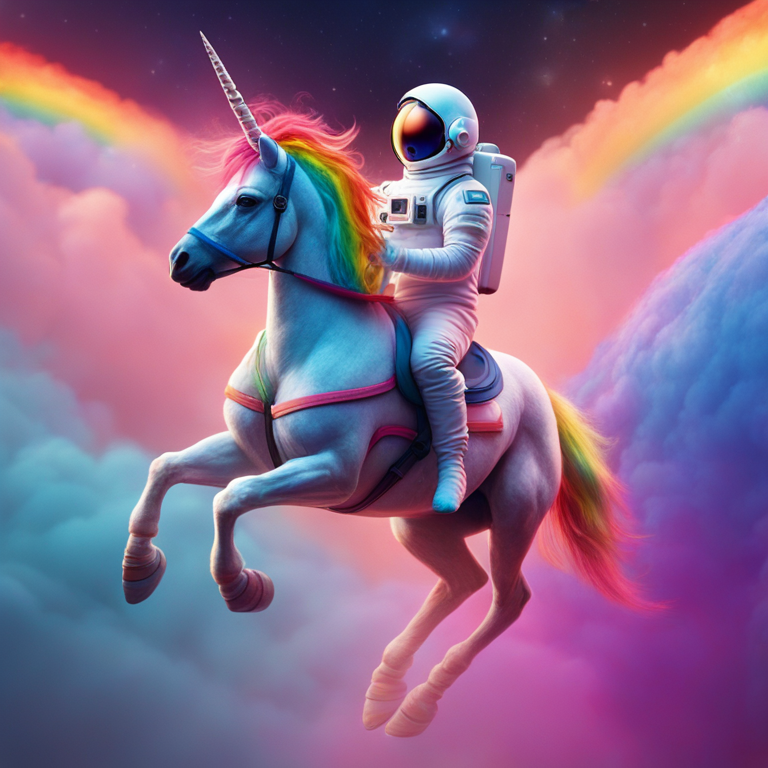
And you’ll find the code that generated this image in sdxl-fine-tune/index.js.
If you are creating your own project you can replicate the same generation using this code:
import Replicate from 'replicate'

const replicate = new Replicate({
  auth: process.env.REPLICATE_API_TOKEN
})
const model = 'stability-ai/sdxl:39ed52f2a78e934b3ba6e2a89f5b1c712de7dfea535525255b1aa35c5565e08b'
const input = {
  width: 768,
  height: 768,
  prompt: 'An astronaut riding a rainbow unicorn, cinematic, dramatic',
  refine: 'expert_ensemble_refiner',
  scheduler: 'K_EULER',
  lora_scale: 0.6,
  num_outputs: 1,
  guidance_scale: 7.5,
  apply_watermark: false,
  high_noise_frac: 0.8,
  negative_prompt: '',
  prompt_strength: 0.8,
  num_inference_steps: 25,
}

console.log({ model, input })
console.log('Running...')
const output = await replicate.run(model, { input })
console.log('Done!', output)
Now that we were able to generate our first image using SDXL, it’s time to create our own model.
Gathering your data
Before we can start the process of fine-tuning we’ll need some data, or rather some images, that we can train the model on using LoRA.
For my project I used 21 images of various sizes but with my subject being very clear in the picture and captured from different angles.
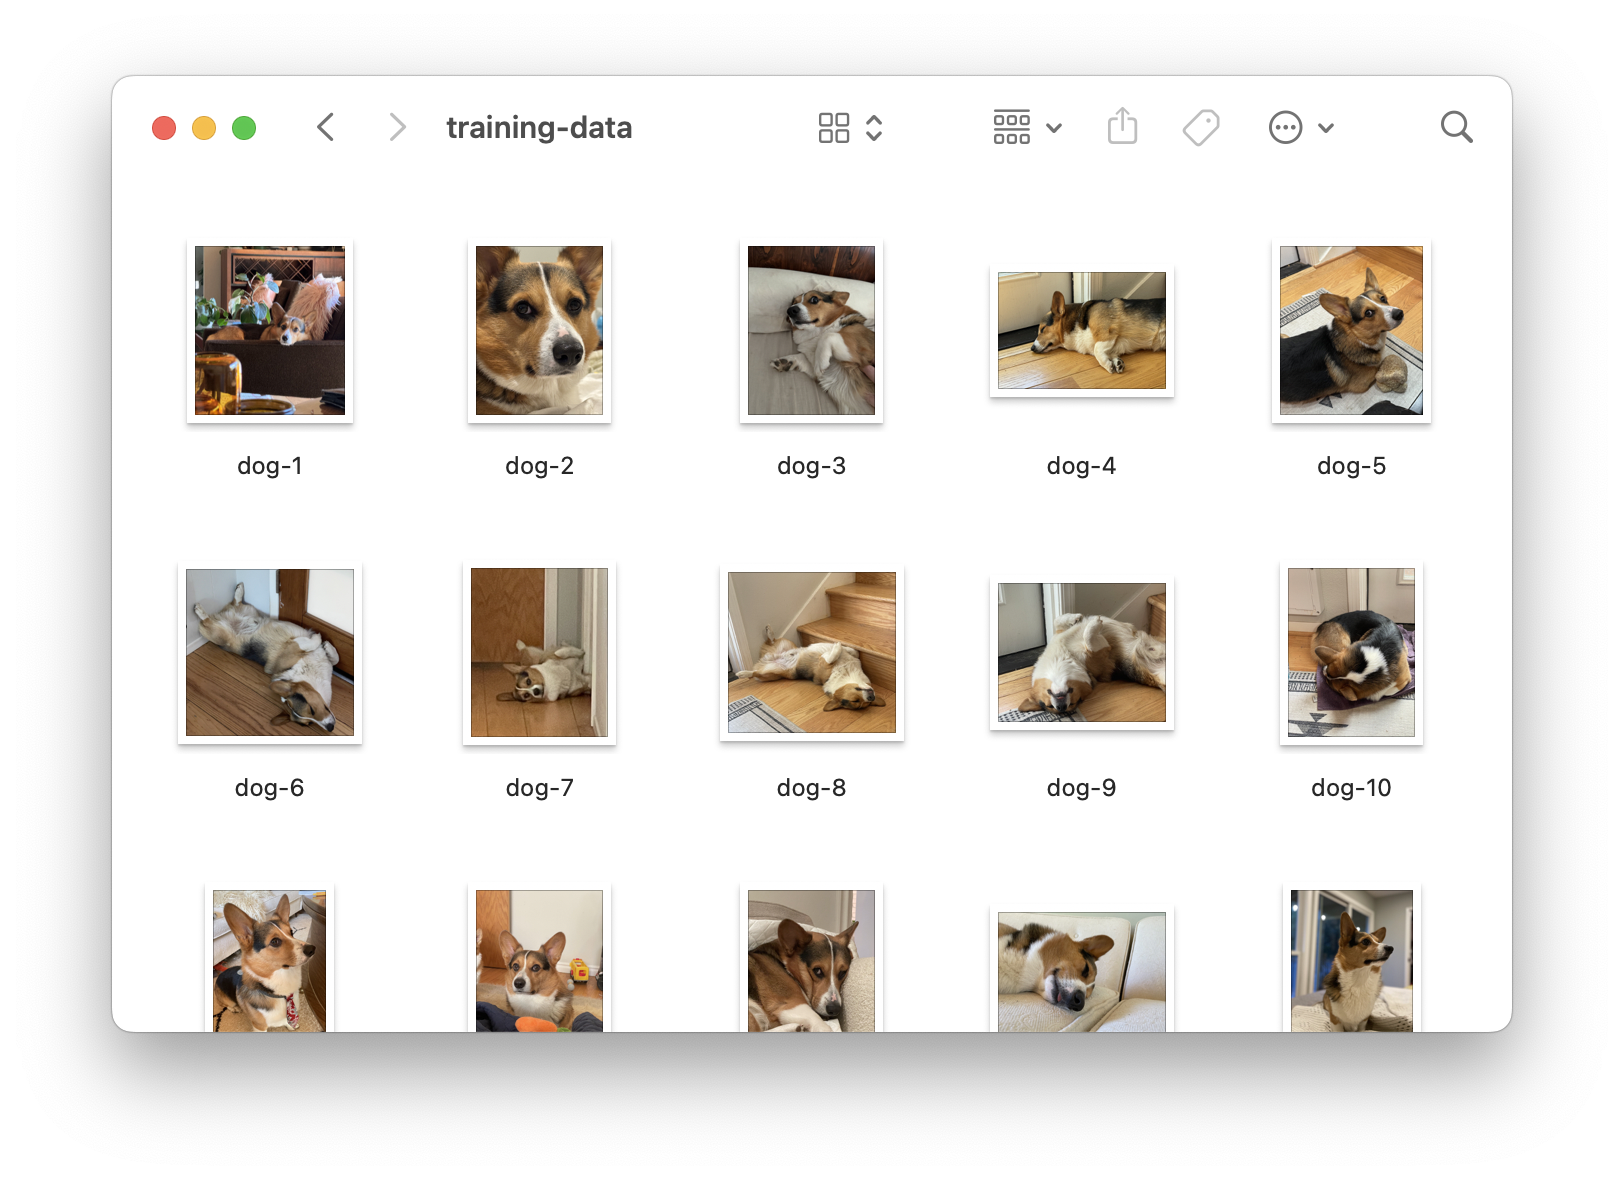
Once you have collected all the images of what you want to train the model on(20-30 is a good amount to have for a pet for example), put them in a folder and ZIP up the folder so we can start our fine-tuning.
Starting your fine-tuning
Now that you have your files together let’s do the fine-tuning! With Replicate there are two ways we can do this.
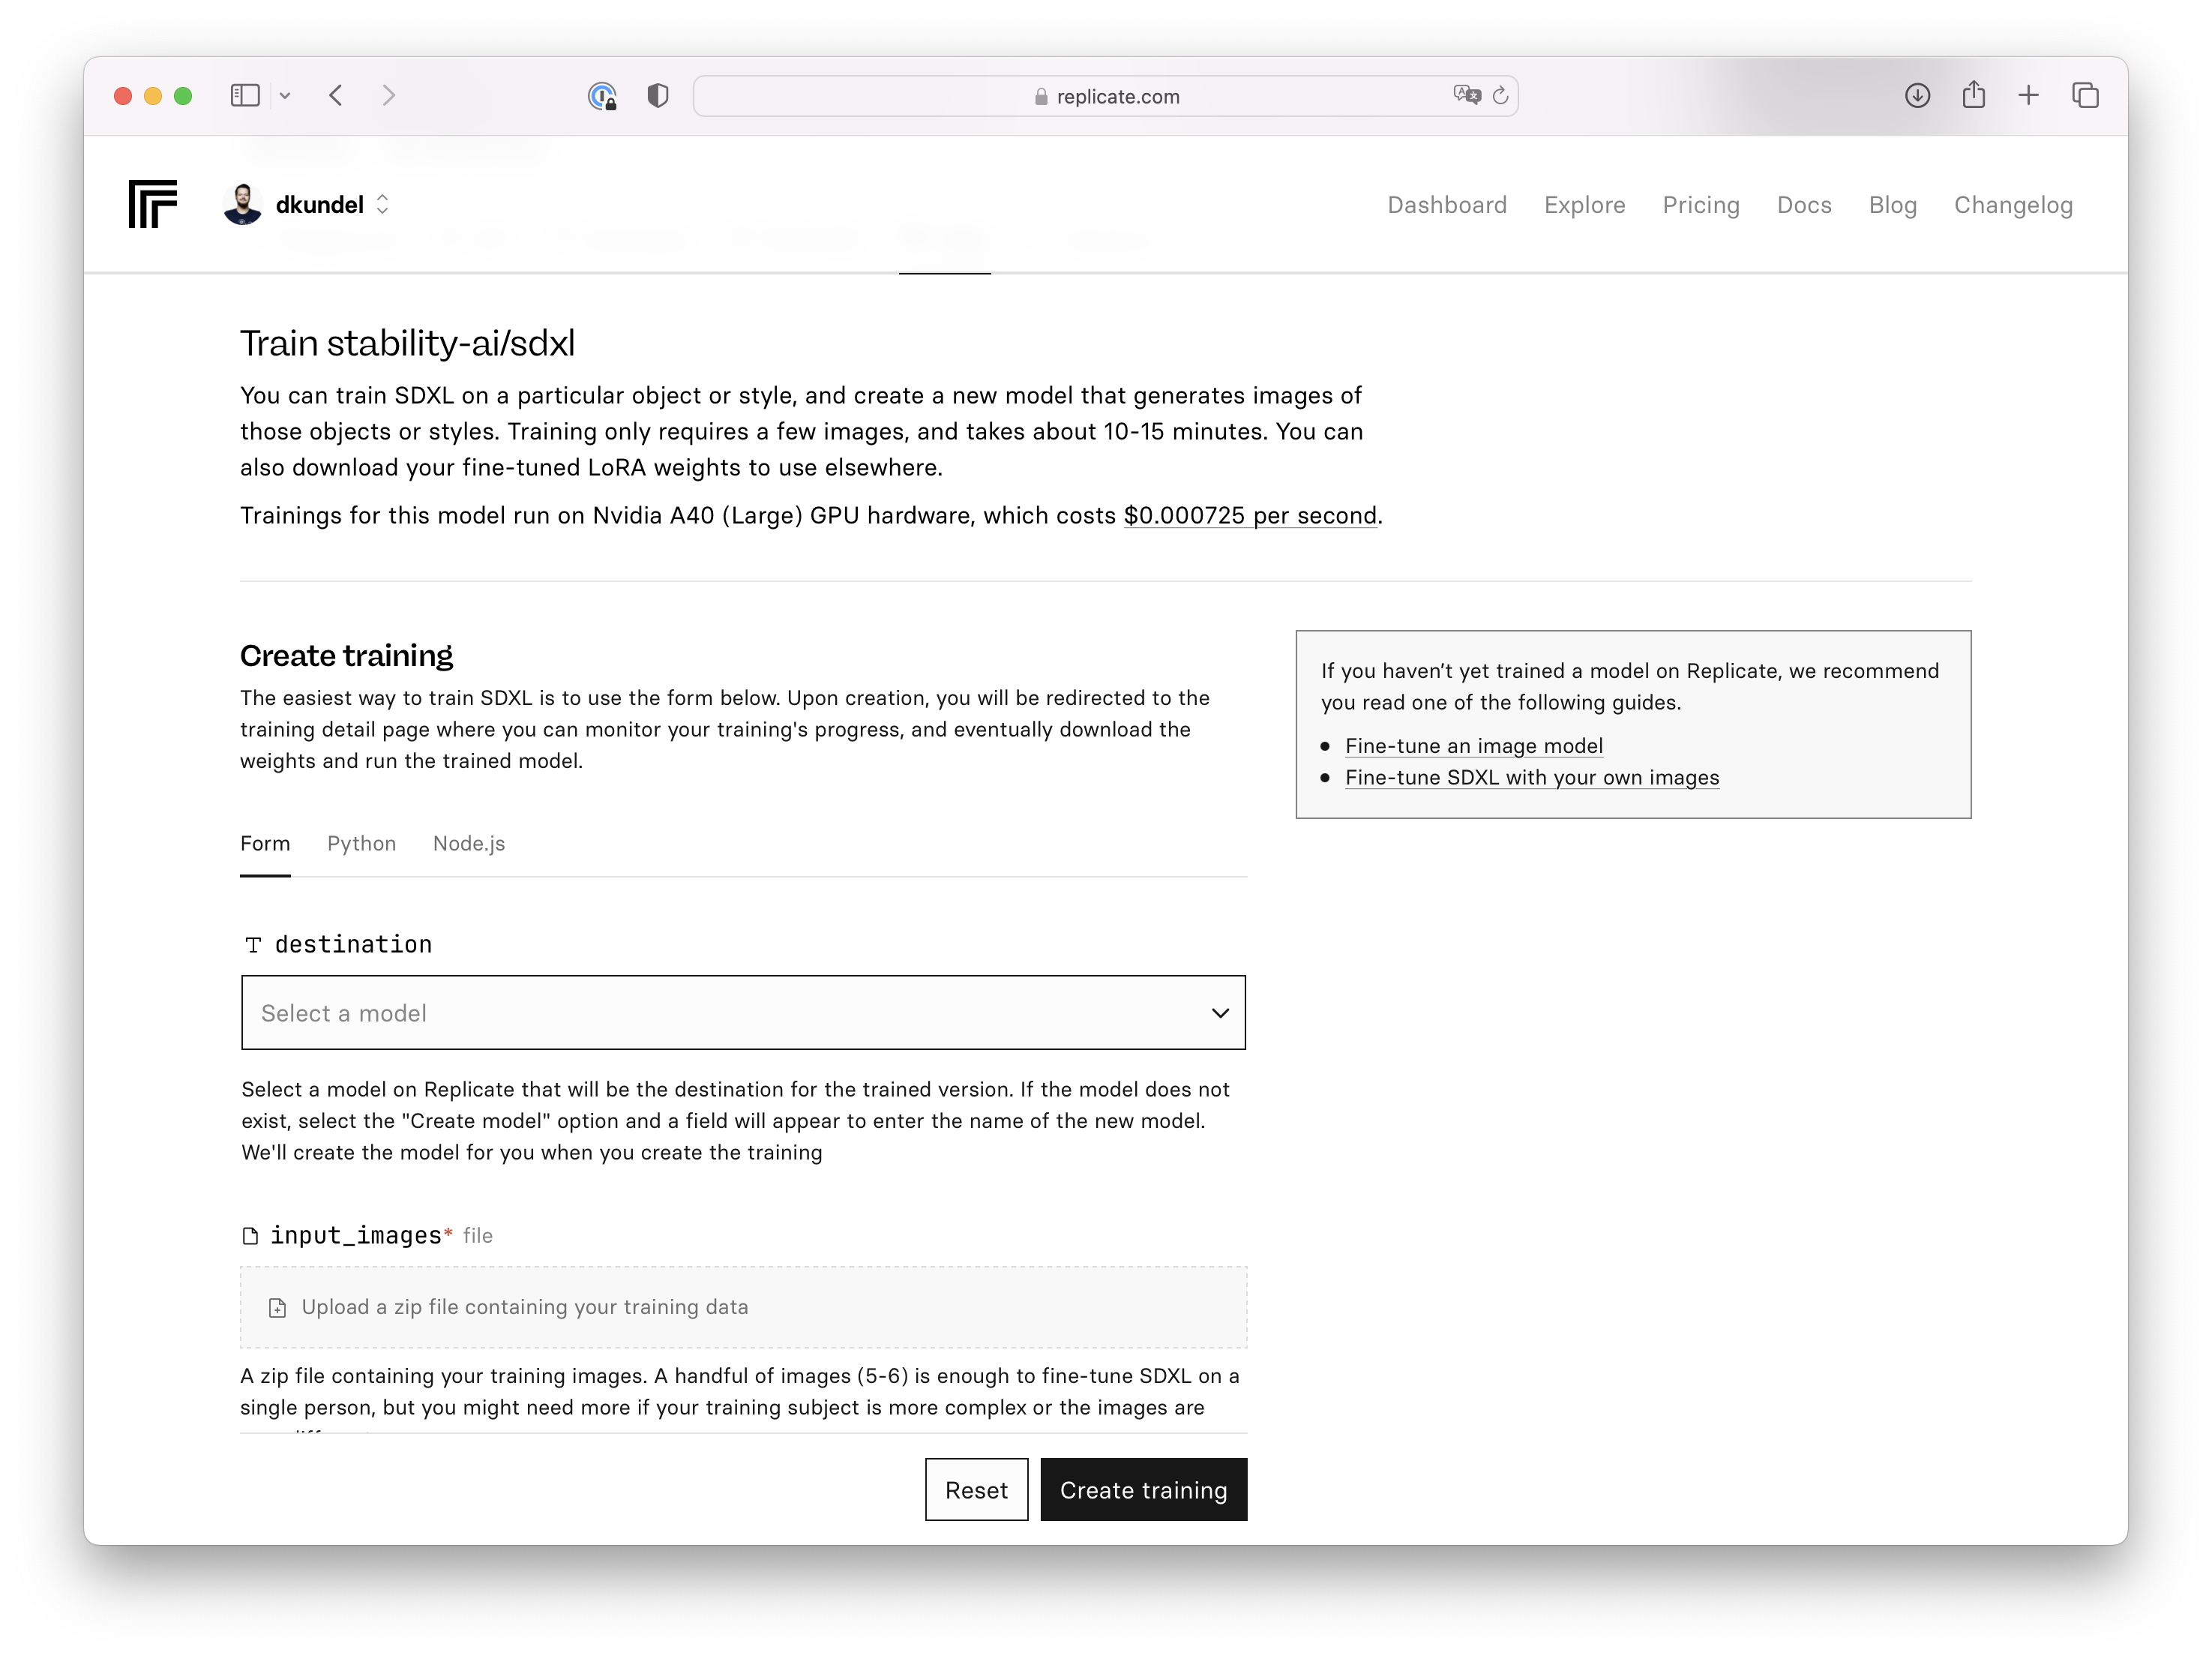
Using the website
The first option and maybe the easiest to try things out is using the website interface. You can upload the ZIP file you created directly there and generate your model.
Using the JavaScript
The alternative way is using Replicate’s Trainings API for example through the Node.js client library.
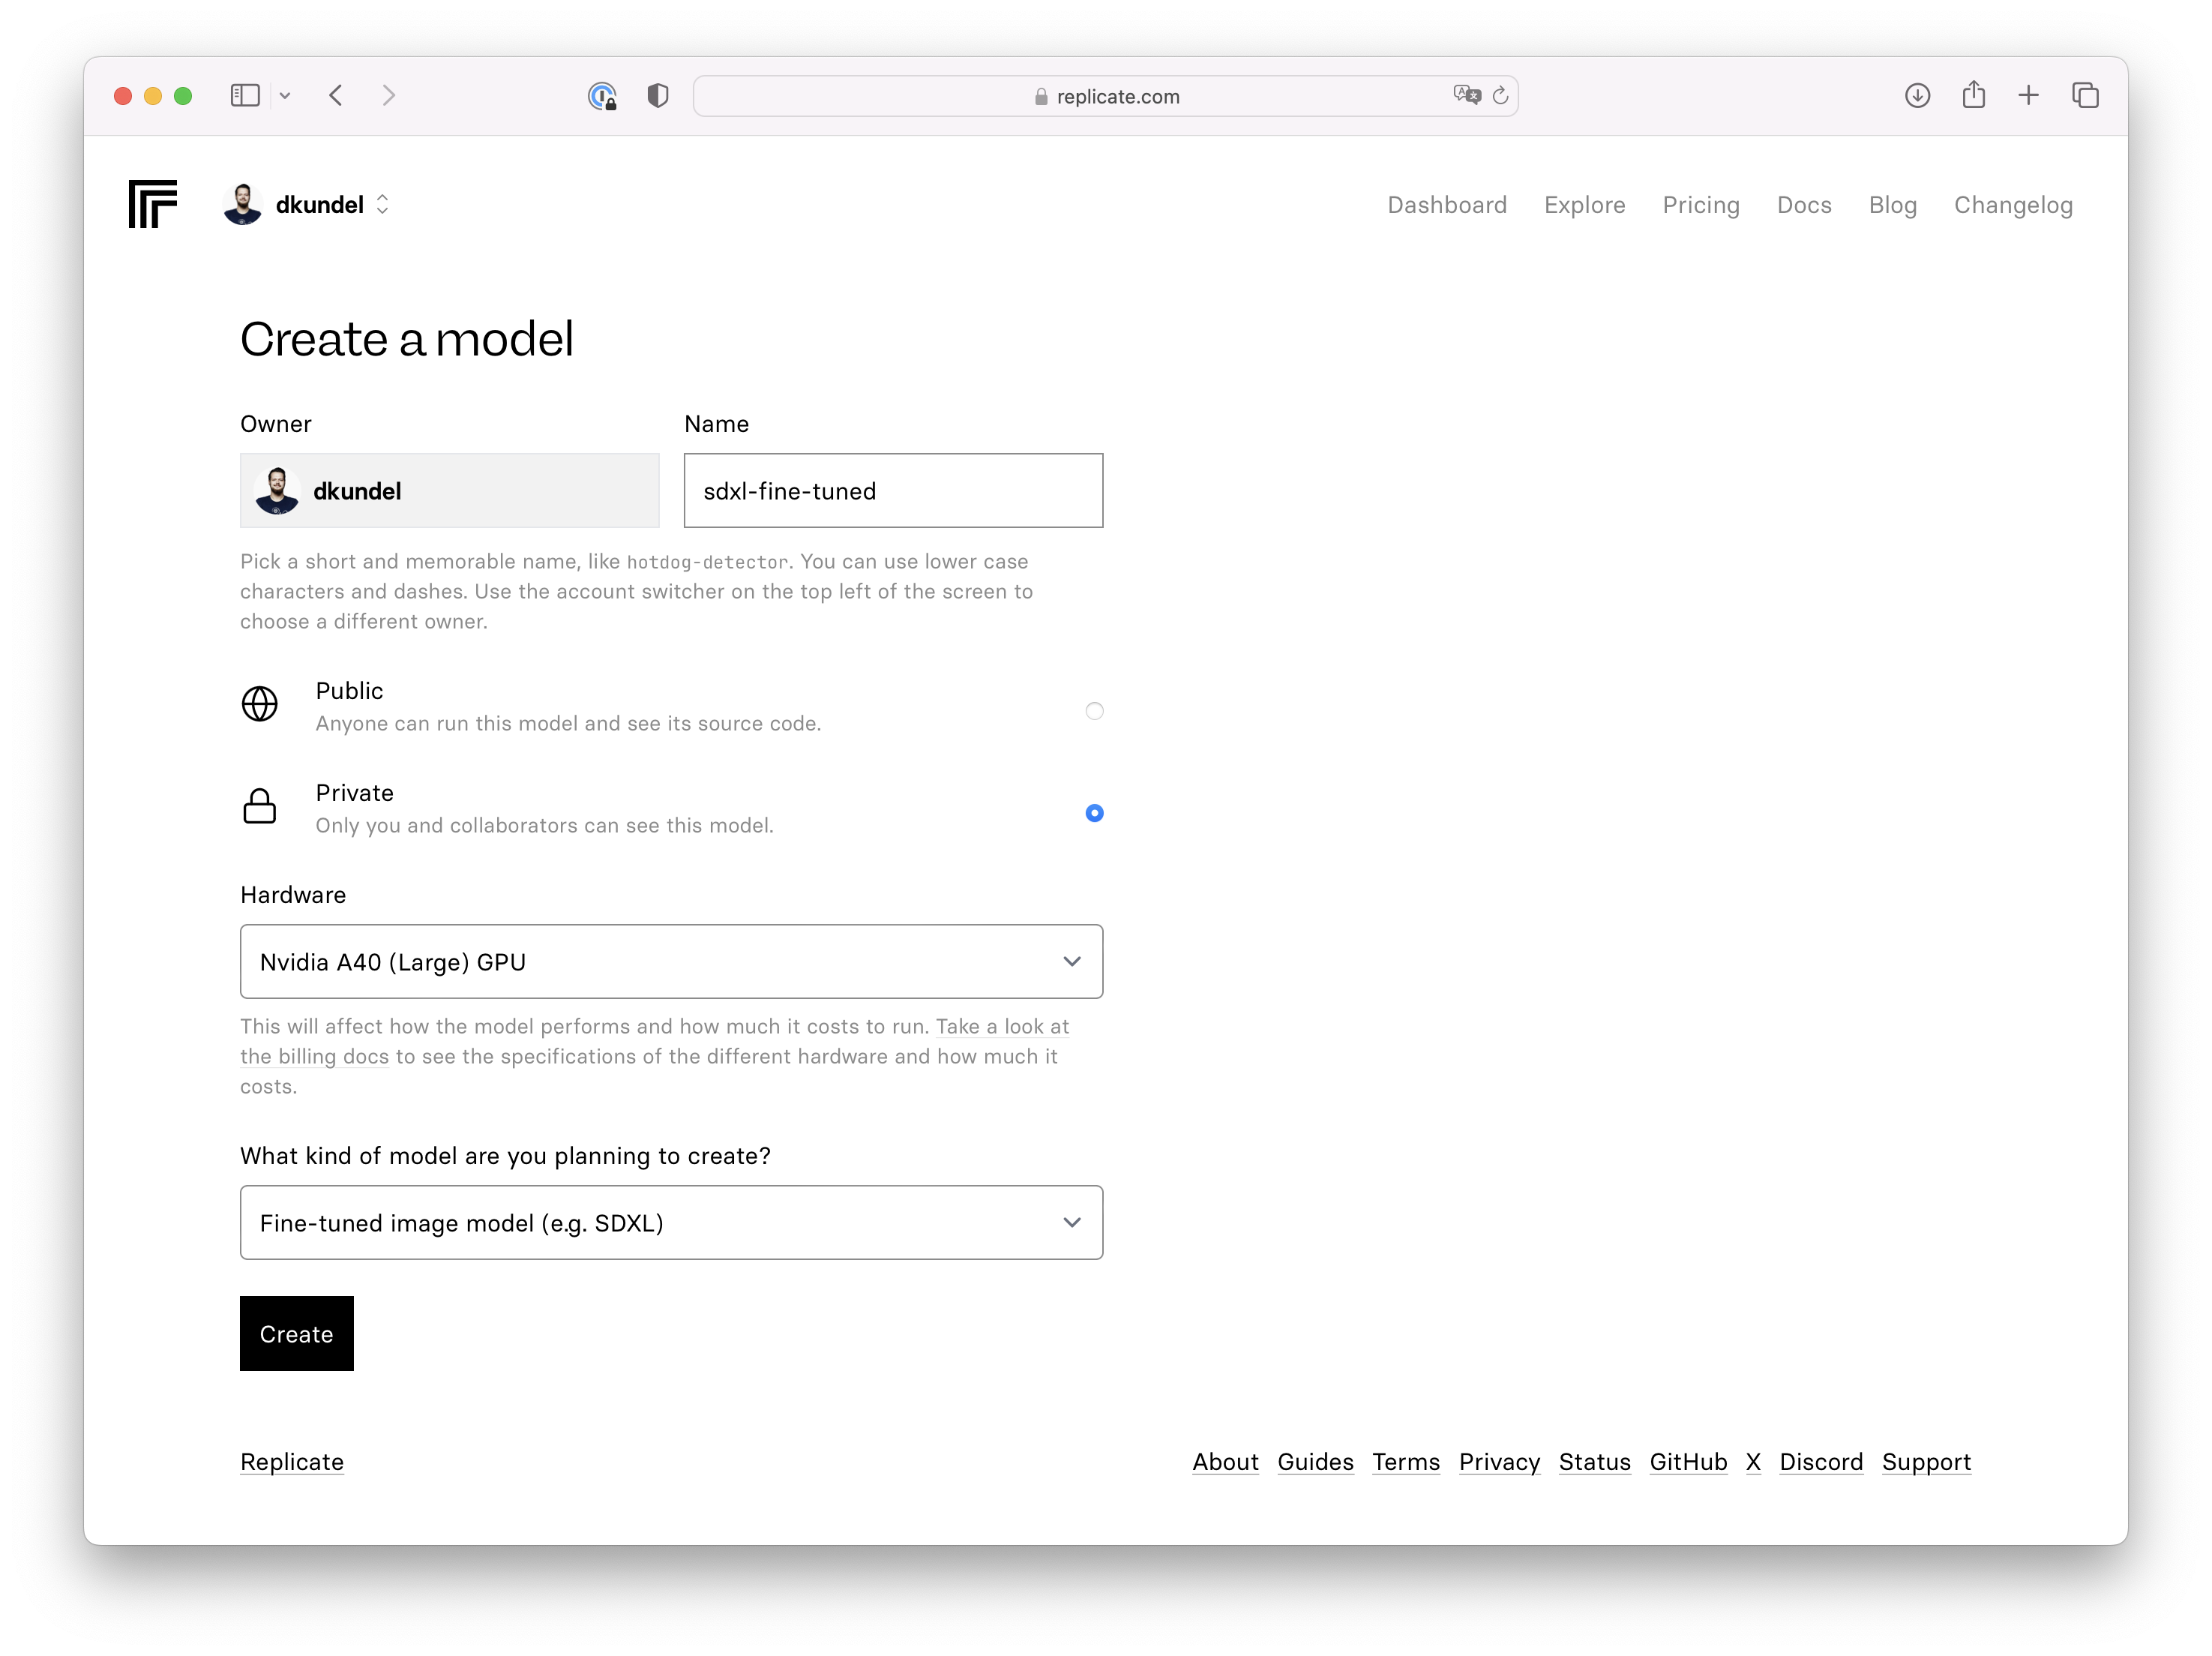
When using the API we first need to create a new model that will act as our target for our training model. You can create both private and public models. I’ll be creating a private one. Take note of your username and model name.
In order to kick off a training using the API you’ll need to host your ZIP file somewhere publicly like an S3 bucket or any static file hosting.
Once you have uploaded your ZIP file it’s time to set up the code. Create a new file fine-tune.js and add the following code:
import Replicate from "replicate";

const replicate = new Replicate({
  auth: process.env.REPLICATE_API_TOKEN,
});

const training = await replicate.trainings.create(
  "stability-ai",
  "sdxl",
  "39ed52f2a78e934b3ba6e2a89f5b1c712de7dfea535525255b1aa35c5565e08b",
  {
    destination: "<your-username>/<your-model-name>",
    input: {
      input_images: "https://<path-to-your-training-data>",
      mask_target_prompts: "photo of a dog",
    },
  }
);

console.dir(training);
Make sure you replace <your-username>, <your-model-name> and <path-to-your-training-data> according to your respective values.
Since I’m fine-tuning the model for pictures of my dog, I added a parameter of mask_target_prompts that essentially tells the training process to focus in my input pictures on the photo of a dog. If you just train the model on a specific style of picture you can for example omit this parameter. There are a variety of parameters that you can pass into the training. Check the model for documentation on what parameters are available.
Once you are ready start your training by running:
node fine-tuning.jsThe output will include a link to your training process or alternatively you can find the training run within the Trainings section of your Replicate dashboard.
On this page you’ll be able to watch the logs live as the training is going on.
Testing your new model
Once your training run is complete it’s time to test our new model. Update your index.js file to point to your own model.
You’ll need both your username and model as well as the version of your model that you can find either on the training page or in the Versions tab of your model page.
import Replicate from "replicate";

const replicate = new Replicate({
  auth: process.env.REPLICATE_API_TOKEN,
});

const output = await replicate.run(
  "<your-username>/<your-model-name>:<your-version>",
  {
    input: {
      seed: 1234,
      width: 1024,
      height: 1024,
      prompt: "A TOK dog sitting in a throne in the style of a renaissance painting",
      refine: "expert_ensemble_refiner",
      scheduler: "K_EULER",
      lora_scale: 0.8,
      num_outputs: 1,
      guidance_scale: 7.5,
      apply_watermark: true,
      high_noise_frac: 0.95,
      negative_prompt: "",
      prompt_strength: 0.8,
      num_inference_steps: 50
    }
  }
);
console.log(output);
When looking at the code you’ll notice that the prompt says:
A TOK dog sitting in a throne in the style of a renaissance painting
But what is the TOK? It’s basically a special “keyword” or token that represents the concept that you fine-tuned into the model. So when we say A TOK dog we are basically saying we want a dog that looks like the dog we trained the model on (in this case my corgi). The dog in this promopt is not stricly required and the prompt could also be:
A TOK sitting in a throne in the style of a renaissance painting
But using TOK dog or even TOK corgi helps nudge the model into the right direction.
If you really don’t like TOK you could pass during the training process the token_string parameter in with a different token but TOK seems to be the established way to do this.
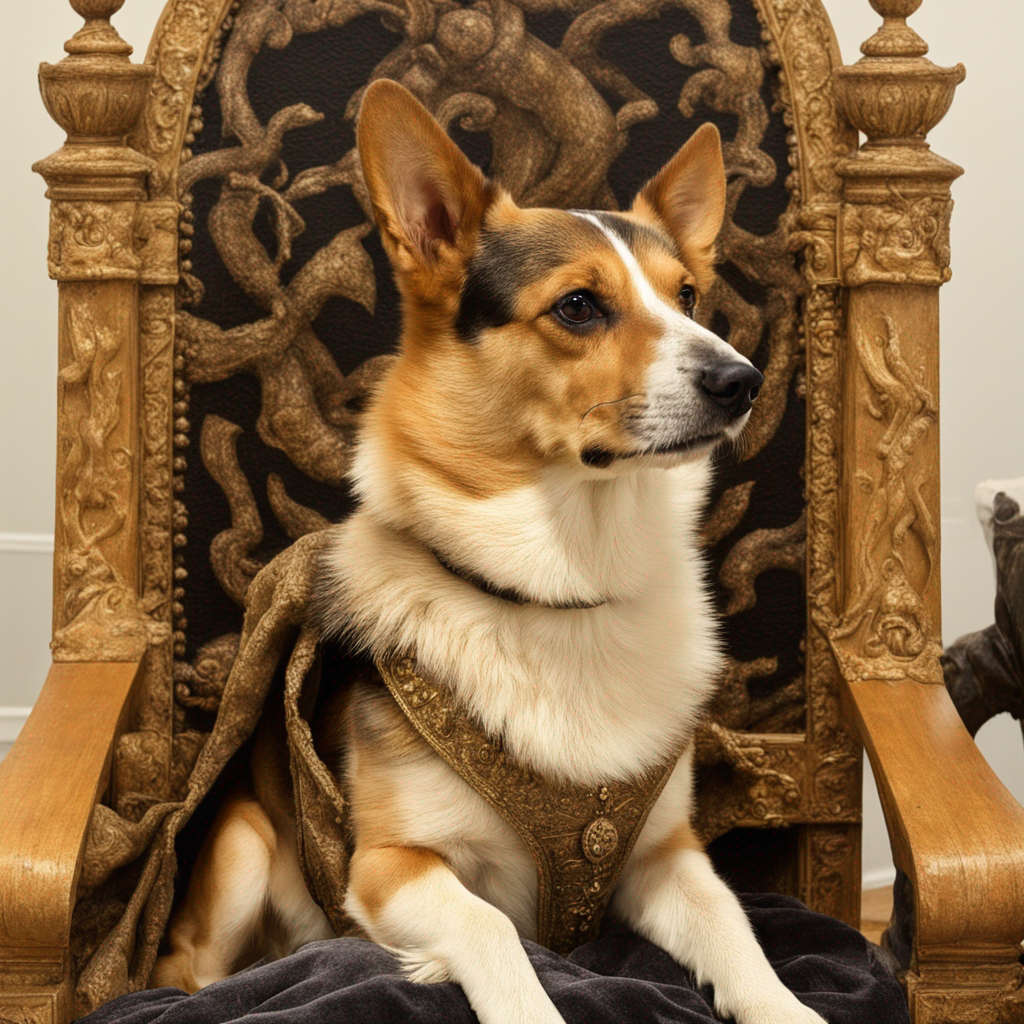
With that we have everything ready to generate some corgi images. Let’s run:
node index.jsAnd here we go! My corgi on a throne 🎉
Getting ready for production
As you start using your new model you might notice that it’s taking a bit of time to execute and sometimes might even get queued for a while. That’s because by default your model runs on shared infrastructure until you are ready to “Deploy” your model.
When you are ready and happy with your model and want to use it in production, head over to the version of your model that you want to deploy and press the “Deploy” button.
From here you can pick how many instances and what infrastructure you’ll want it to run on. Here you are primarily trading off cost, scale and execution time.
Once you deployed your model you have to update your code once more to point against your specific deployment by changing the call from replicate.run to:
let prediction = await replicate.deployments.predictions.create(
  "<your-username>",
  "<your-deployment-name>>",
  {
    input: {
      prompt: "A TOK dog sitting in a throne in the style of a renaissance painting"
    }
  }
);
prediction = await replicate.wait(prediction);
console.log(prediction.output);
And with that you are ready to create all the pictures your heart desires.
Running it locally
If you have the right CUDA compatible NVIDIA hardware on your local computer you can also use Replicate’s cog tool to run the model you trained locally instead:
cog predict r8.im/<your-username>/<your-model-name>@sha256:<your-version> \
  -i 'seed=1234' \
  -i 'width=1024' \
  -i 'height=1024' \
  -i 'prompt="A TOK dog sitting in a throne in the style of a renaissance painting"' \
  -i 'refine="expert_ensemble_refiner"' \
  -i 'scheduler="K_EULER"' \
  -i 'lora_scale=0.8' \
  -i 'num_outputs=1' \
  -i 'guidance_scale=7.5' \
  -i 'apply_watermark=true' \
  -i 'high_noise_frac=0.95' \
  -i 'negative_prompt=""' \
  -i 'prompt_strength=0.8' \
  -i 'num_inference_steps=50'
Under the hood this will leverage Docker to set up the environment to run your predictions.
Conclusion
Stability AI’s SDXL model is an extremely powerful open-source text-to-image generation model and there is a variety of different guides and ways to fine-tune SDXL for your own purposes. But with Replicate we were able to train the model without having to understand how LoRA works in detail, deal with having the right infrastructure or having to understand how to use Python libraries like PyTorch.
If you are hooked like me, Replicate offers a variety of other models to fine-tune directly on their platform incl. Llama 2 and Mistral models.